
In today’s digital landscape, live streaming has become an essential tool for businesses, content creators, and marketers to engage with their audience in real time. However, live broadcasting can sometimes be challenging due to technical issues, scheduling conflicts, or the pressure of going live on the spot. Streaming pre-recorded videos as live content offers a powerful alternative, combining the polished quality of edited videos with the interactive benefits of live streaming.
Facebook, as one of the largest social media platforms, provides multiple ways to broadcast pre-recorded videos to your Page, allowing you to reach your audience with timely, professional content without the need for complicated setups or expensive software. Best of all, many of these methods are free, making it accessible for anyone looking to elevate their Facebook presence.
This guide will walk you through the most effective and free ways to live stream pre-recorded videos to your Facebook Page, helping you maximize engagement, maintain consistent communication, and streamline your content strategy with ease.
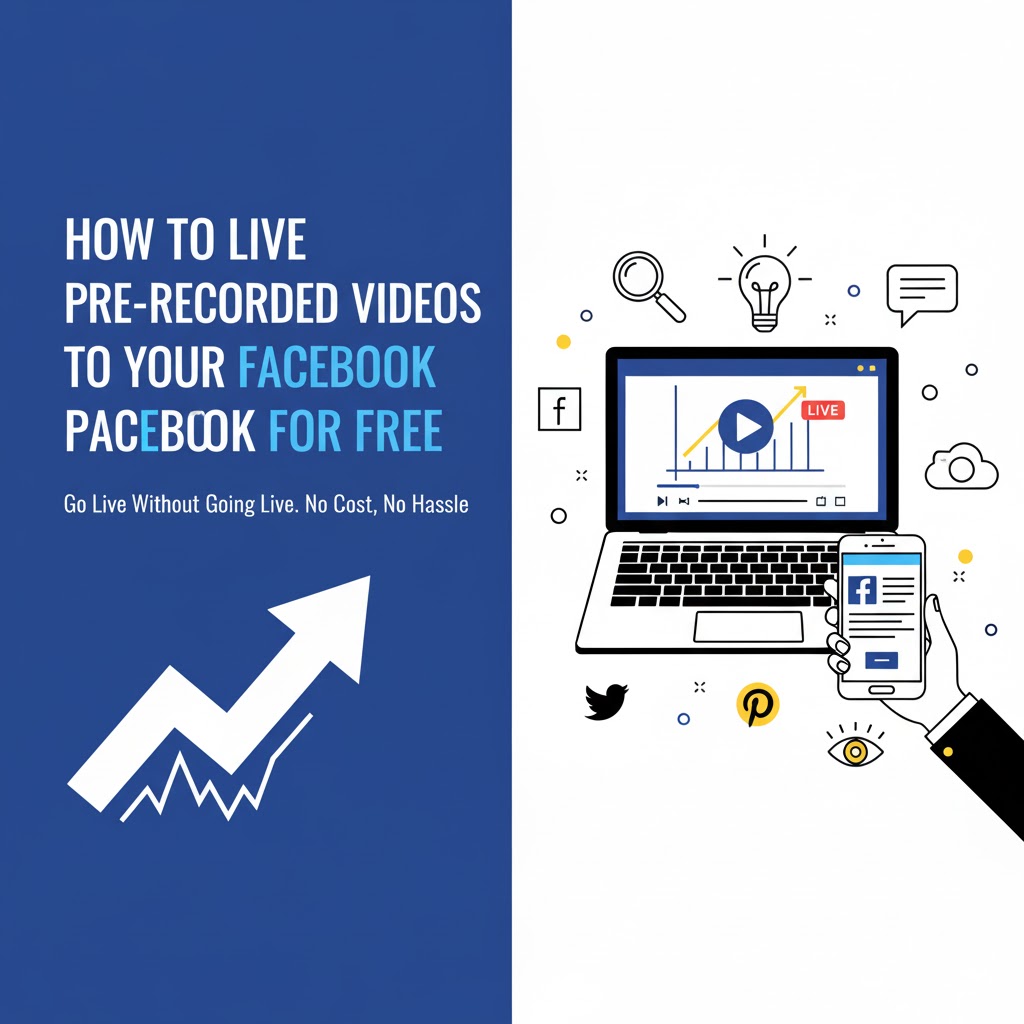
How to Live Stream Pre-Recorded Videos to Your Facebook Page for Free
Introduction
Live streaming pre-recorded videos to your Facebook Page offers a strategic advantage by combining the engagement of live broadcasts with the polished quality of edited content. This approach is particularly beneficial for businesses, content creators, and marketers aiming to maintain a consistent online presence without the pressures of real-time broadcasting. By scheduling and streaming pre-recorded videos, you can reach your audience at optimal times, enhance viewer engagement, and reduce the likelihood of technical issues.
This guide explores various methods to stream pre-recorded videos to Facebook for free, detailing the tools and steps involved to help you leverage this powerful feature effectively.
Understanding Facebook’s Live Streaming Capabilities
Facebook Live allows users to broadcast real-time video to their audience. However, for those who prefer to stream pre-recorded content, Facebook provides options to schedule and broadcast videos as live events. This feature enables your pre-recorded videos to appear as live broadcasts, complete with live comments and interactions, offering a dynamic viewing experience.
Method 1: Using Facebook’s Native Premiere Feature
What is Facebook Premiere?
Facebook Premiere is a feature that allows you to upload a pre-recorded video and schedule it to play as a live broadcast on your Page. Viewers can interact with the video in real-time through comments, and the video appears in their feeds as a live event.
Steps to Use Facebook Premiere:
- Access Your Facebook Page: Navigate to your Facebook Page where you want to stream the video.
- Create a New Post: Click on the ‘Create Post’ option.
- Select ‘Live Video’: Choose the ‘Live Video’ option to initiate the live stream setup.
- Upload Your Video: Instead of going live, select the option to upload a pre-recorded video.
- Schedule the Premiere: Set the date and time for the premiere to go live.
- Add Details: Include a title, description, and any relevant tags to optimize the video’s reach.
- Publish: Once everything is set, click ‘Publish’ to schedule the premiere.
Your video will now appear as a live event at the scheduled time, allowing viewers to engage as if it were a live broadcast.
Method 2: Utilizing Free Streaming Software with RTMP
What is RTMP?
RTMP (Real-Time Messaging Protocol) is a protocol used for streaming audio, video, and data over the internet. By using RTMP-compatible streaming software, you can stream pre-recorded videos to Facebook Live.
Recommended Free Streaming Software:
- OBS Studio (Open Broadcaster Software): A free and open-source software for video recording and live streaming.
- Streamlabs OBS: A user-friendly version of OBS with added features for streamers.
Steps to Stream Pre-Recorded Videos Using OBS:
- Download and Install OBS: Obtain OBS Studio from the official website and install it on your computer.
- Set Up a New Scene: Open OBS and create a new scene dedicated to your pre-recorded stream.
- Add Media Source: In the ‘Sources’ box, click the ‘+’ button and select ‘Media Source’.
- Configure Media Source: Browse and select your pre-recorded video file.
- Enable Looping (Optional): If you want the video to play continuously, check the ‘Loop’ option.
- Obtain Facebook Stream Key:
- Go to your Facebook Page and click on ‘Live’.
- Select ‘Use Stream Key’.
- Copy the Stream Key provided.
- Configure OBS Settings:
- In OBS, go to ‘Settings’ > ‘Stream’.
- Set ‘Service’ to ‘Facebook Live’.
- Paste your Stream Key into the ‘Stream Key’ field.
- Start Streaming: Click ‘Start Streaming’ in OBS to begin broadcasting your pre-recorded video to Facebook Live.
Method 3: Leveraging Online Platforms for Scheduled Streaming
Several online platforms offer services to schedule and stream pre-recorded videos to Facebook Live. These platforms provide user-friendly interfaces and additional features to enhance your streaming experience.
Recommended Platforms:
- OneStream Live: A cloud-based platform that allows you to upload pre-recorded videos and schedule them for live streaming on Facebook and other platforms.
- StreamYard: A browser-based streaming service that supports streaming pre-recorded videos to Facebook Live.
- Restream: A multi-streaming platform that enables you to stream pre-recorded content to multiple platforms, including Facebook Live.
General Steps to Use These Platforms:
- Sign Up and Log In: Create an account on your chosen platform and log in.
- Connect Your Facebook Account: Authorize the platform to access your Facebook account and select the Page you wish to stream to.
- Upload Your Pre-Recorded Video: Upload the video file you wish to stream.
- Schedule the Stream: Set the date and time for the stream to go live.
- Add Stream Details: Enter a title, description, and any other relevant information.
- Go Live: At the scheduled
Method 3 (Continued): Leveraging Online Platforms for Scheduled Streaming
Advantages of Using Online Streaming Platforms
Using cloud-based streaming services to broadcast pre-recorded videos offers several key benefits:
- Ease of Use: These platforms often feature intuitive interfaces, minimizing the technical complexity involved in setting up streams.
- Multi-Platform Streaming: Many services allow simultaneous streaming to multiple social media channels, expanding your reach.
- Scheduling Flexibility: You can upload your video once and schedule multiple broadcasts at different times without manual intervention.
- Analytics and Engagement Tools: Some platforms offer built-in analytics to track viewer engagement and performance metrics.
- No Need for Powerful Hardware: Since the processing happens in the cloud, you can stream high-quality videos even from less powerful computers or devices.
Best Practices for Streaming Pre-Recorded Videos to Facebook
To maximize the impact of your live streams and create a positive experience for your audience, consider the following best practices:
1. Optimize Video Quality
- Resolution and Bitrate: Aim for at least 720p HD video quality with an appropriate bitrate to balance clarity and smooth playback.
- Format Compatibility: Use widely supported video formats like MP4 with H.264 encoding for best compatibility.
2. Engage Your Audience in Real-Time
Even though the video is pre-recorded, engagement is key to replicating the live experience:
- Be Present in the Comments: Respond to viewers’ comments and questions as the video streams.
- Moderate Comments: Use moderators or filters to maintain a positive and respectful chat environment.
3. Promote Your Stream Ahead of Time
- Create Event Pages: Facebook allows you to create events for your live streams, which helps generate buzz.
- Leverage Other Channels: Use email, newsletters, and other social media platforms to notify your audience about the upcoming stream.
4. Test Before Going Live
- Run Private Tests: Schedule test streams or use private groups/pages to ensure everything runs smoothly.
- Check Internet Connection: A stable and fast internet connection is essential for uninterrupted streaming.
5. Use Eye-Catching Thumbnails and Titles
- Custom Thumbnails: Upload engaging thumbnails that accurately represent your video content.
- Clear Titles: Use descriptive and keyword-rich titles to attract viewers searching for related topics.
Troubleshooting Common Issues
Video Not Streaming Properly
- Check Stream Key: Ensure you have entered the correct Facebook stream key in your streaming software.
- Inspect Internet Stability: Unstable internet can cause buffering or stream dropouts.
- Update Software: Keep your streaming software and drivers updated to prevent compatibility issues.
Audio-Video Sync Issues
- Use Compatible Formats: Some video codecs or formats can cause synchronization problems.
- Adjust Buffer Settings: Streaming software often allows adjustments to buffering that can fix sync delays.
Stream Not Appearing on Facebook Page
- Verify Permissions: Make sure the streaming app or software has permission to post on your Facebook Page.
- Check Stream Privacy Settings: Confirm that the stream is set to ‘Public’ or as per your audience preferences.
Tools and Software Overview for Free Live Streaming of Pre-Recorded Videos
| Tool/Software | Type | Key Features | Cost |
|---|---|---|---|
| OBS Studio | Desktop software | Open-source, highly customizable, RTMP support | Free |
| Streamlabs OBS | Desktop software | User-friendly, integrated widgets | Free |
| Facebook Premiere | Native Facebook feature | Schedule pre-recorded videos as live | Free |
| OneStream Live | Cloud platform | Schedule multiple streams, multi-platform | Free & Paid Plans |
| StreamYard | Browser-based platform | Easy to use, pre-recorded video support | Free & Paid Plans |
| Restream | Multi-streaming platform | Stream to multiple platforms simultaneously | Free & Paid Plans |
Step-by-Step Example: Using OBS Studio to Stream a Pre-Recorded Video on Facebook Live
Let’s walk through a detailed example of how to stream a pre-recorded video using OBS Studio:
Step 1: Download and Install OBS Studio
- Visit the official OBS Studio website.
- Download the installer compatible with your operating system.
- Follow installation prompts.
Step 2: Configure OBS Studio for Facebook Live
- Open OBS Studio.
- Under the ‘Scenes’ box, click the plus (+) icon to create a new scene (e.g., “Pre-recorded Stream”).
- In the ‘Sources’ box, click the plus (+) icon and select ‘Media Source’.
- Name it appropriately (e.g., “Video File”).
- Click ‘Browse’ and select your pre-recorded video file.
- Check ‘Loop’ if you want the video to repeat.
- Click ‘OK’.
Step 3: Retrieve Facebook Stream Key
- Go to your Facebook Page.
- Click on ‘Live Video’ or ‘Create Live Stream’.
- Under ‘Setup’, select ‘Use Stream Key’.
- Copy the stream key.
Step 4: Input Stream Key in OBS
- In OBS, click ‘Settings’ > ‘Stream’.
- Choose ‘Facebook Live’ as the service.
- Paste the stream key.
- Click ‘Apply’ and ‘OK’.
Step 5: Start Streaming
- Click ‘Start Streaming’ in OBS.
- Your pre-recorded video will now broadcast live on your Facebook Page.
Leveraging Facebook Insights to Analyze Your Live Stream Performance
After your stream has ended, it’s essential to review its performance to refine future streams:
- Viewership Metrics: Number of viewers, peak concurrent viewers, average watch time.
- Engagement: Number of reactions, comments, and shares.
- Demographics: Understand who watched your stream, including age, location, and device.
- Retention: Check when viewers drop off to identify areas where content might need improvement.
Using this data, you can tailor your future pre-recorded streams to better meet your audience’s preferences.
Advanced Tips for Professional-Looking Live Streams
1. Incorporate Branding
- Add logos, lower-thirds, and watermarks to maintain brand consistency.
- Use custom intros and outros to polish the presentation.
2. Mix Live and Pre-Recorded Content
- Consider starting with a live intro or Q&A, then transition into your pre-recorded video.
- This approach can increase viewer engagement by creating a hybrid live experience.
3. Use Multiple Scenes in OBS
- Switch between different video sources or graphics during the stream to keep it visually dynamic.
- Add overlays such as countdown timers or social media handles.
4. Include Captions and Subtitles
- Accessibility is key; add captions to reach wider audiences including those with hearing impairments.
Conclusion
Streaming pre-recorded videos to your Facebook Page live is an excellent strategy to blend the control of pre-produced content with the engagement benefits of live interaction. Whether using Facebook’s native Premiere feature, free software like OBS Studio, or cloud-based platforms, there are numerous free options to suit varying needs and technical expertise.
By following best practices in video preparation, scheduling, audience engagement, and technical setup, you can harness the full potential of Facebook Live to build stronger connections with your audience, increase reach, and ultimately grow your brand presence online.
Start experimenting with these methods today and take your Facebook content strategy to the next level!